Friday, March 22, 2013

PLAYING WITH GOLD

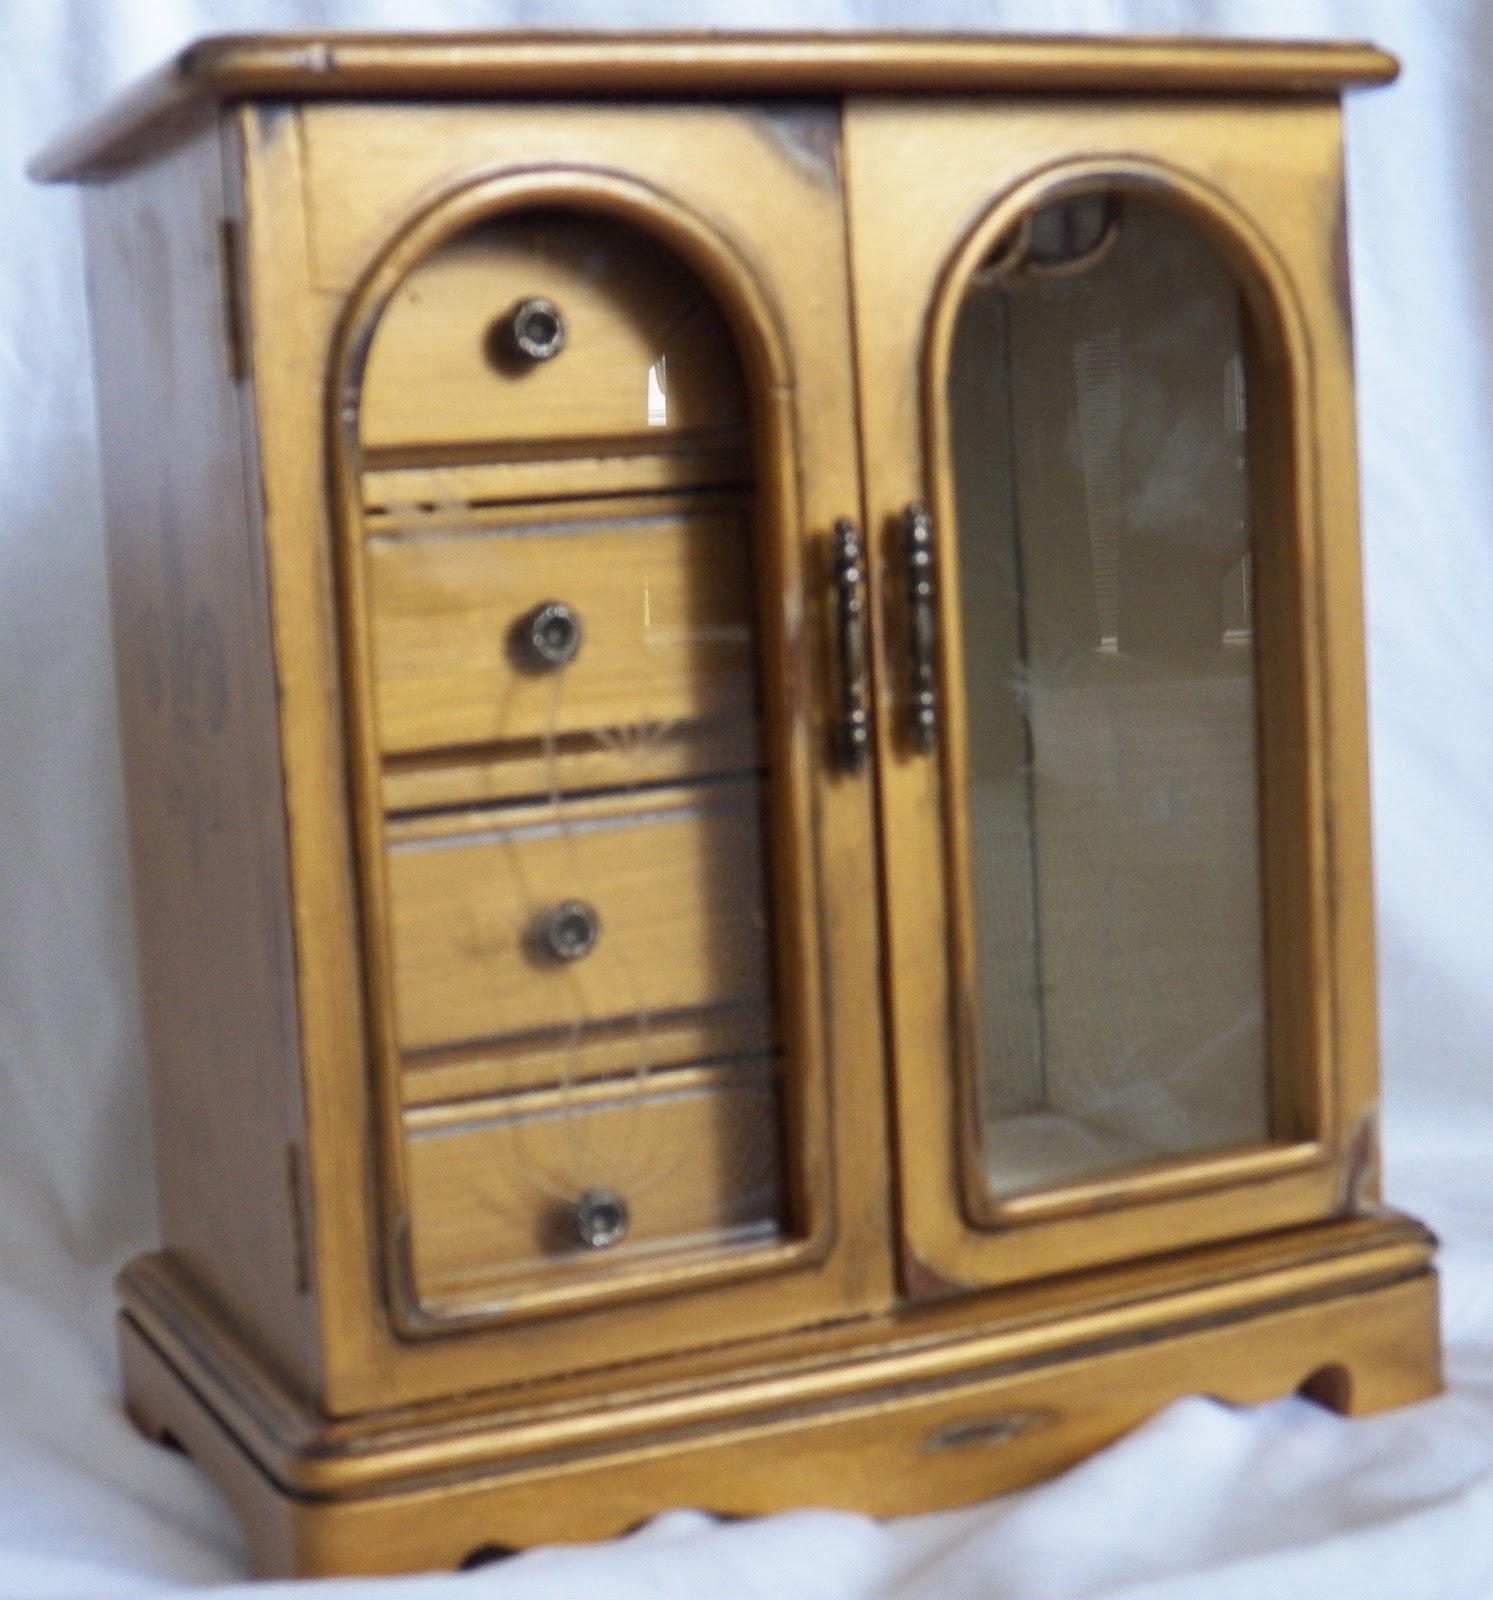
Since we have some Modern Masters Olympic Gold Paint left over, we decided to dress up a jewelry box. 

This cute little jewelry box started out just plain old brown. After giving it a light sanding some primer and 2 coat of Modern Masters... look at her now.


We even gave it a New Orleans touch...

Fluer de Lis

Wednesday, March 20, 2013

SLACKER

Yes, we've been SLACKERS...

We have been busy working...really we have! We just haven't posted anything since January. 

One of the favorite projects that we've done are 6 maple dining room chairs. These chairs took us out of our comfort zone. We normally clean, sand, prime, paint and put a clear coat on our furniture. These chairs we're a little more detailed and involved working with a product we hadn't used before. 

Here are the chairs when we first got them from Kendra. 


Just regular dining chairs with a mahagony finish. 

Here's a close up of the detail.


Here's what they look like now. 


Thanks to the guys at Helm Paint for all the advice they gave us. We used a great product, Modern Masters for the gold. The process was basically the same as when we paint using Benjamin Moore Paints. We sanded, cleaned, primed and painted. Modern Masters was easy and fun to use. We did find that if we put one coat on vertically and the next on horizontally we got a nice texture. You can see it on the picture of the leg. 

Kendra pushed our limits even more. She wanted them distressed even more that what we had done. We took a knife and sandpaper to them. They turned out beautiful. I have to say this has been the most fun project that we've done. 

Kendra has since upholstered them in a black velvet. 

Beautiful...

Thank you Kendra for pushing us beyond our limits!

Wednesday, January 2, 2013

Happy New Year

Can you believe it's 2013! 

2012 seemed to just roll off your tongue

2013 

Not so much...

With the new year comes new hopes and dreams. Promises to ourselves and to others. Probably the three biggest New Year Resolutions are to lose weight, get healthy and get organized. 

I can't help you with your weight loss it's something I've struggled with for years. But I can give you a few ideas for organizing your pantry. 

All of these photos are from Pinterest. 

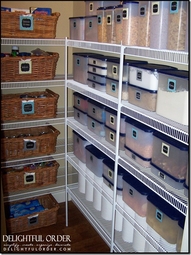
Here's a well organized pantry. Everything's in containers. This girl took it to the next level by labeling each container. When she sends her husband to get something from the pantry there's no excuses that he can't find what he's looking for!


I love the idea of the chalkboard on the inside of the pantry. Now with chalkboard paint it's so easy to add.


Again a well organized pantry. She made use of clear containers and baskets. 


I'm not sure if I'd want all of my items in jars without labels. But the jars do make for a neat pantry. 


This is a great idea. A shoe caddy was used to hold items. I love that it's clear making it easy to see whats inside. 


You don't need to spend a lot of money to organize your pantry. You can go to the dollar store for plastic bins or garage sales for baskets. 

The first step is to empty your pantry and throw away  expired items. Anything that you don't think you'll use before the expiration date donate. Now that it's empty take a look at your pantry. What items do you have the most of? Will you be using baskets, bins, or wire can holders? Take an inventory and decide what you need to buy. 

Does it need painting? Now's the time to do it. Use a high quality gloss paint to make it easier to clean. TIP: If you repaint your shelves give them 24-48 hours to dry before you put any items back on them. Look at your shelves. Do you need to add more or adjust the ones you have. 

Once you've cleaned, painted and decided what you will be using to organize it's time to put it all back in. Put the items that you use most at eye level. If you have kids put their items where they can reach them. It will make your life easier. 

Now stand back and take a look. Aren't you proud of what you've accomplished. 

Good job!

Thursday, December 13, 2012

Color

A while back I read an article in the September issue of House Beautiful about color. There was a map of the US showing favorite colors in different parts of the country. 

I was surprised that orange was the favorite color of the Southeast. I would have thought orange would be the favorite color of the Southwest. I know orange is a hot color right now but I've never been an orange girl. 

Green won as the hot color of Louisiana. Anyone who lives in New Orleans and is old enough to remember the wood benches in City Park knows City Park Green. In the past 10 years or so the green that you see in the French Quarter has gotten lighter. 


Green is one of my favorite colors. To me the right shade of green is a neutral color. Think about Mother Nature...Green is all around us. There's so many shades to choose from. Green can either soothe or energize you.

Here are a few green combos. All photos are from Houzz.com 

Pink and Green...think nature...pink flowers, green leaves.
Perfect for a little girls room. 


Blue and Green...can be very clean and contemporary.


White and Green...this isn't your Grandma's kitchen but white and green is always in style.


How about Yellow and Green...


And yes...even Orange and Green...


Monday, December 10, 2012

Southern Girl

Had a getaway with the Hubs over the weekend. We spent the night at Nottoway Plantation. It's Louisiana's largest remaining antebellum mansion, 53,000 square feet, along the Mississippi River Road. It took 8 years to build the house. It was way ahead of it's time. There were 3 indoor bathrooms and they had their own gas well to heat their water. All of the wood in the house was cut from cypress trees from the property. You can't see from this picture but on the right side is a rotunda. The cypress was soaked in the Mississippi River for 4 years in order to get the curvature of the wood. 

This picture is the side of the home. See the balcony with the red ribbon. It's one of the 2 private balconies that we had with our room. 


Here's a picture of our front balcony. From our balconies we could see the river. My imagination went wild thinking of what life was like back in the day. Of course in my mind everything was beautiful, romantic and life was a piece of cake. NOT...

There was no air condition and the fireplace was the only heat in the house. I can't even imagine what the 
mosquitoes were like. 


Here are a few pics of the inside. 

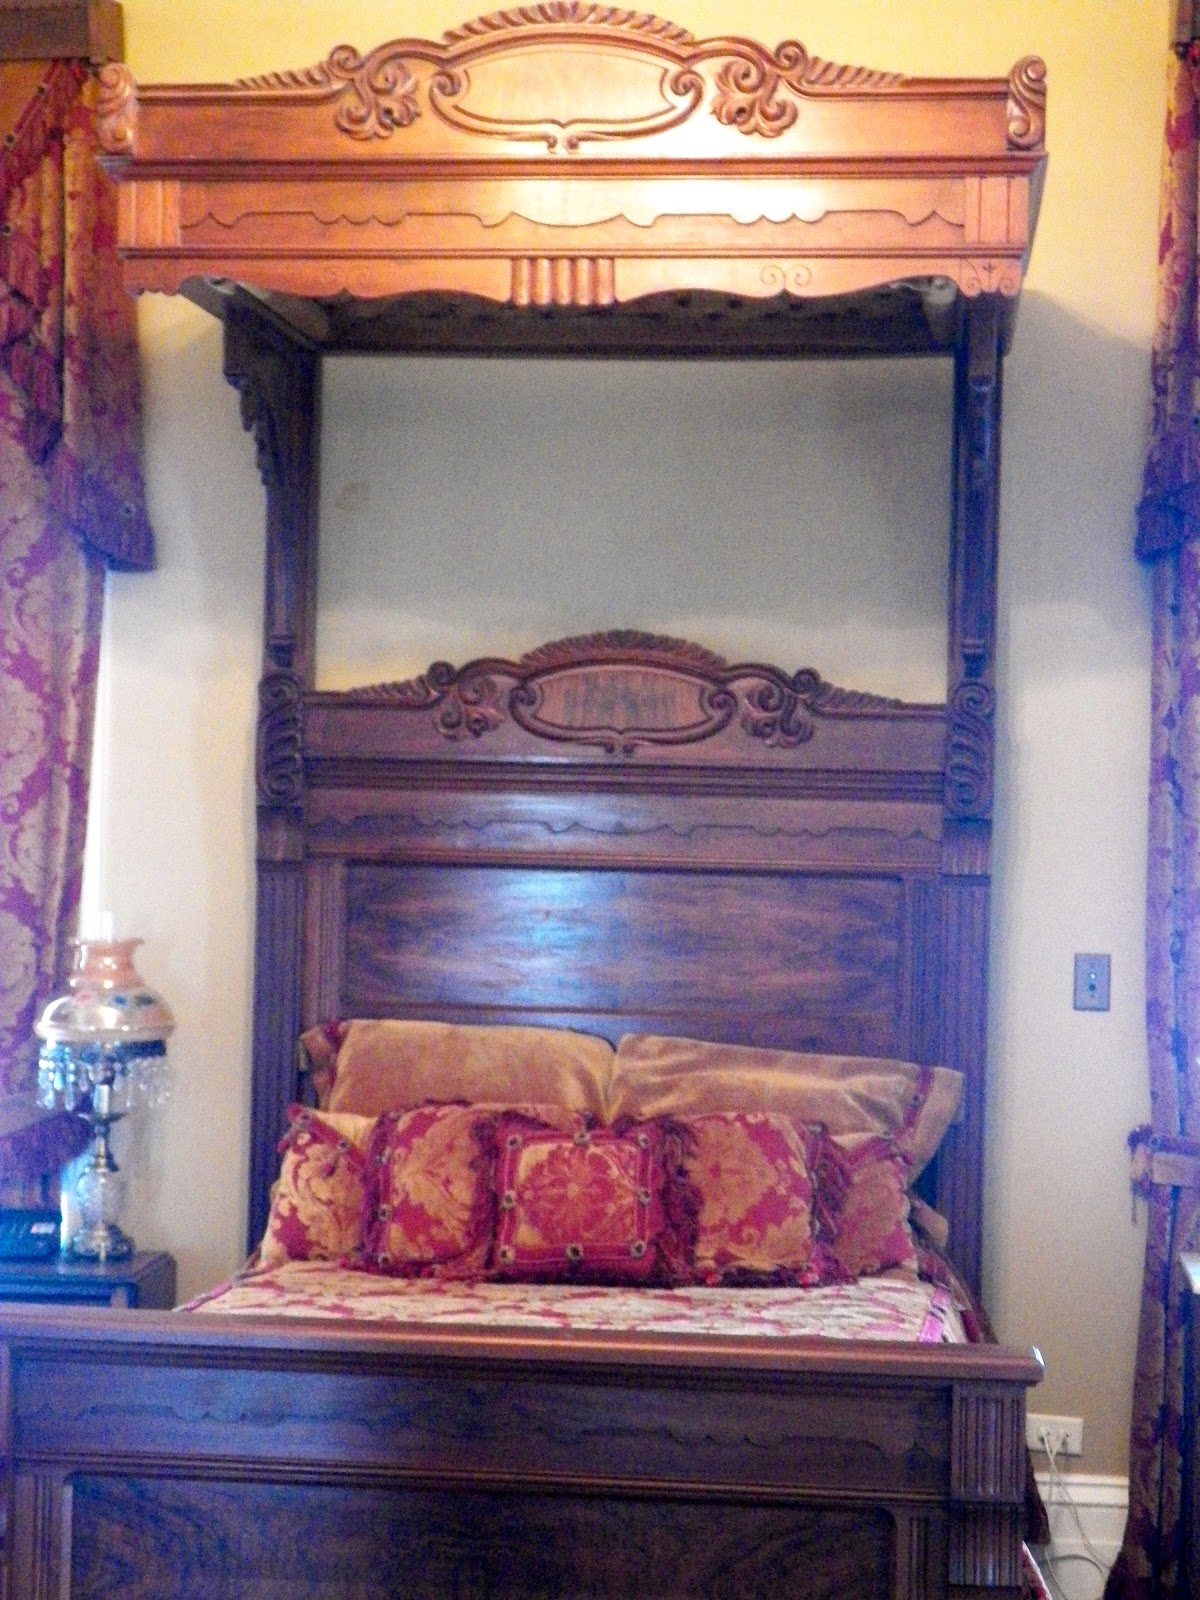
This is our half tester bed. It's not original to the house but it's from the same time period. There are only a few original pieces of furniture in the home that were donated from family members. 


The camellia was the favorite flower of the original lady of the house. Here is the plaster and cypress moulding in the dining room. Notice the camellia's. 


Here I am in my favorite room in the house. The white ballroom. 5 of the daughters were married in this room. The windows would open up, the band would be on the balcony and you could dance in and out of the room onto the balcony.


Here's the Master Suite. Notice the bed warmer on the bed.  The door to the right is the master bath and closet. 


The dining room mantel and table. 


Night photos. 


Here you can see the rotunda. The restaurant is on the bottom floor, white ball room on second floor and family galley on third floor. 


The night ended with us sitting on our balcony watching the fireworks. 


Wednesday, November 7, 2012

Remember this cute little cabinet that someone had given us awhile back.


We were in a quandary...

To paint or not to paint... 

After all she's in perfect condition. Solid mahogany, no dings or scratches. It literally had one owner who had taken very good care of her. She had it filled with pretty little treasures from her travels. 

Well look at this baby now. 


We removed the outdated pediment. Painted her a pretty 
Behind The Shadow from Clark + Kensington and gave her a tiny little shabbiness. 

We learned a great lesson on this one. REMOVE THE BACK BEFORE PAINTING... so much easier to paint when the back is removed. 

Look at her pretty details.


This would be so pretty in a cottage style house. It could be used as a china cabinet, display cabinet, bookcase or just think about her in a little girls room. 


The back is painted a pretty sea foam green. 


We haven't given her a name yet. What do you think?

Friday, November 2, 2012

6 Brown Chairs

One of our return customers asked us to paint 6 chairs for her. 


First let me start by saying...Debbie, I said "DO NOT PUT ME IN THE PHOTO". Thank God it's only a partial shot of my back. That T-shirt is over 15 years old. It's one of my favorite painting shirts. So soft. If you were to see the front you could see every color of paint I've ever used over the past 15 years.

There's a lot involved in chairs. First we had to clean them with a degreaser to get off any wax buildup. Next we gave them a light sanding and spray primed them. 

A lot of people that use chalk paint skip the cleaning, sanding and priming. We thought since these chairs were going to be used daily it was worth the extra steps. 

Here they are after they were painted with our chalk paint in one of our favorite colors, Oyster Pearl. We can't say enough about this color. It picks up different hues depending on what it's around. It's more on a gray side. 


The next step is to give them a light sanding and poly.  

Then on to the next project.